Banner
Book
OzCraft
Software
Minify
Darts
Mathematical Solution
Games
Connect Unlimited 2
Portals
Shadows
Art
Puzzle Boxes
Relativity Box
Sphere Box
Pyrabox
Christmas Tree (2021)
Christmas 2022
Christmas 2023
The Software
Color Grids
The Basics
Grid Generation
Solving a Hard Problem
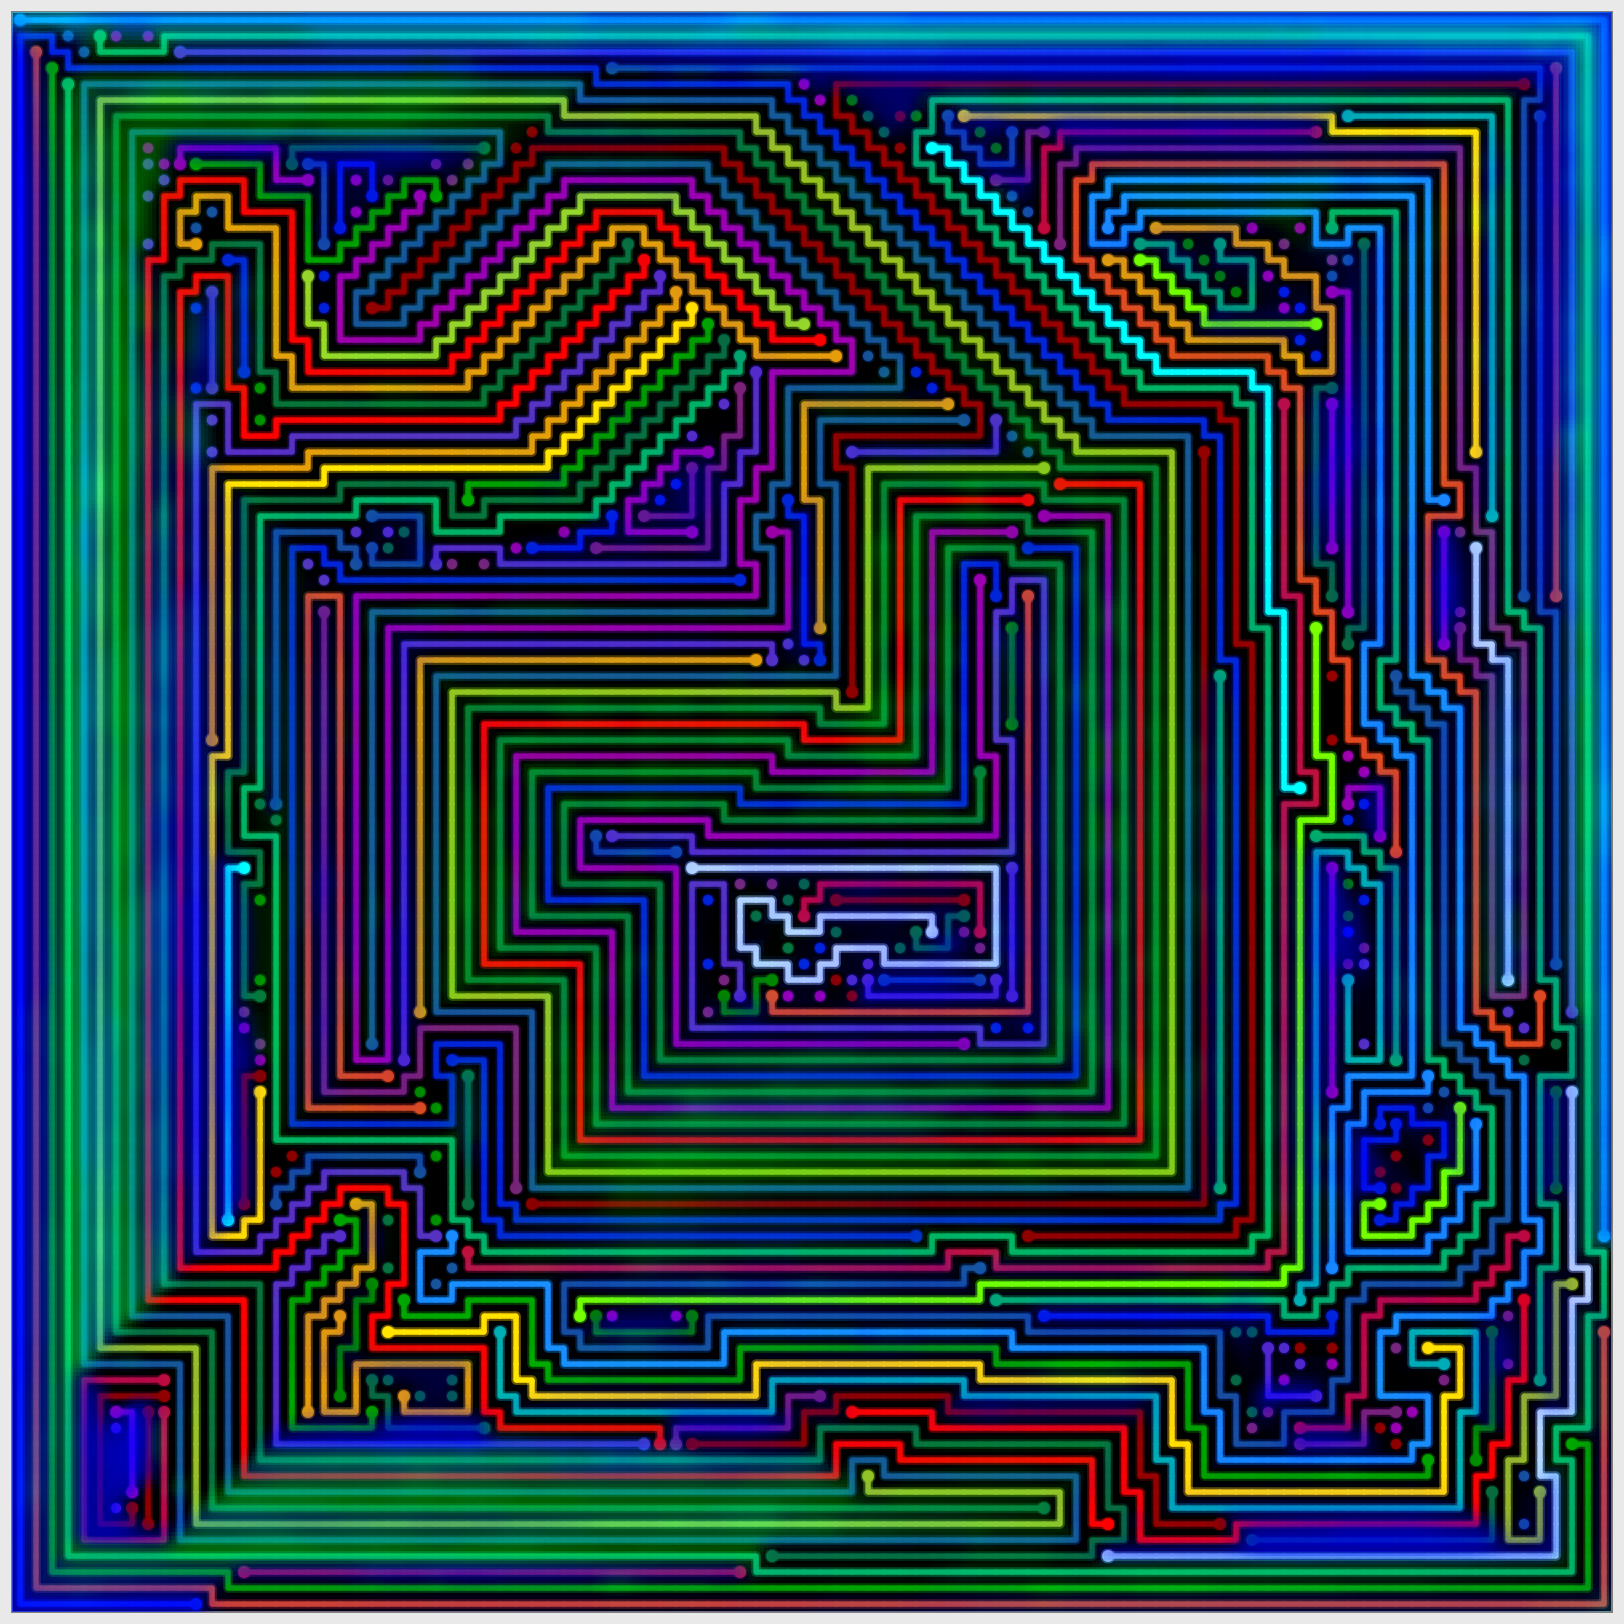
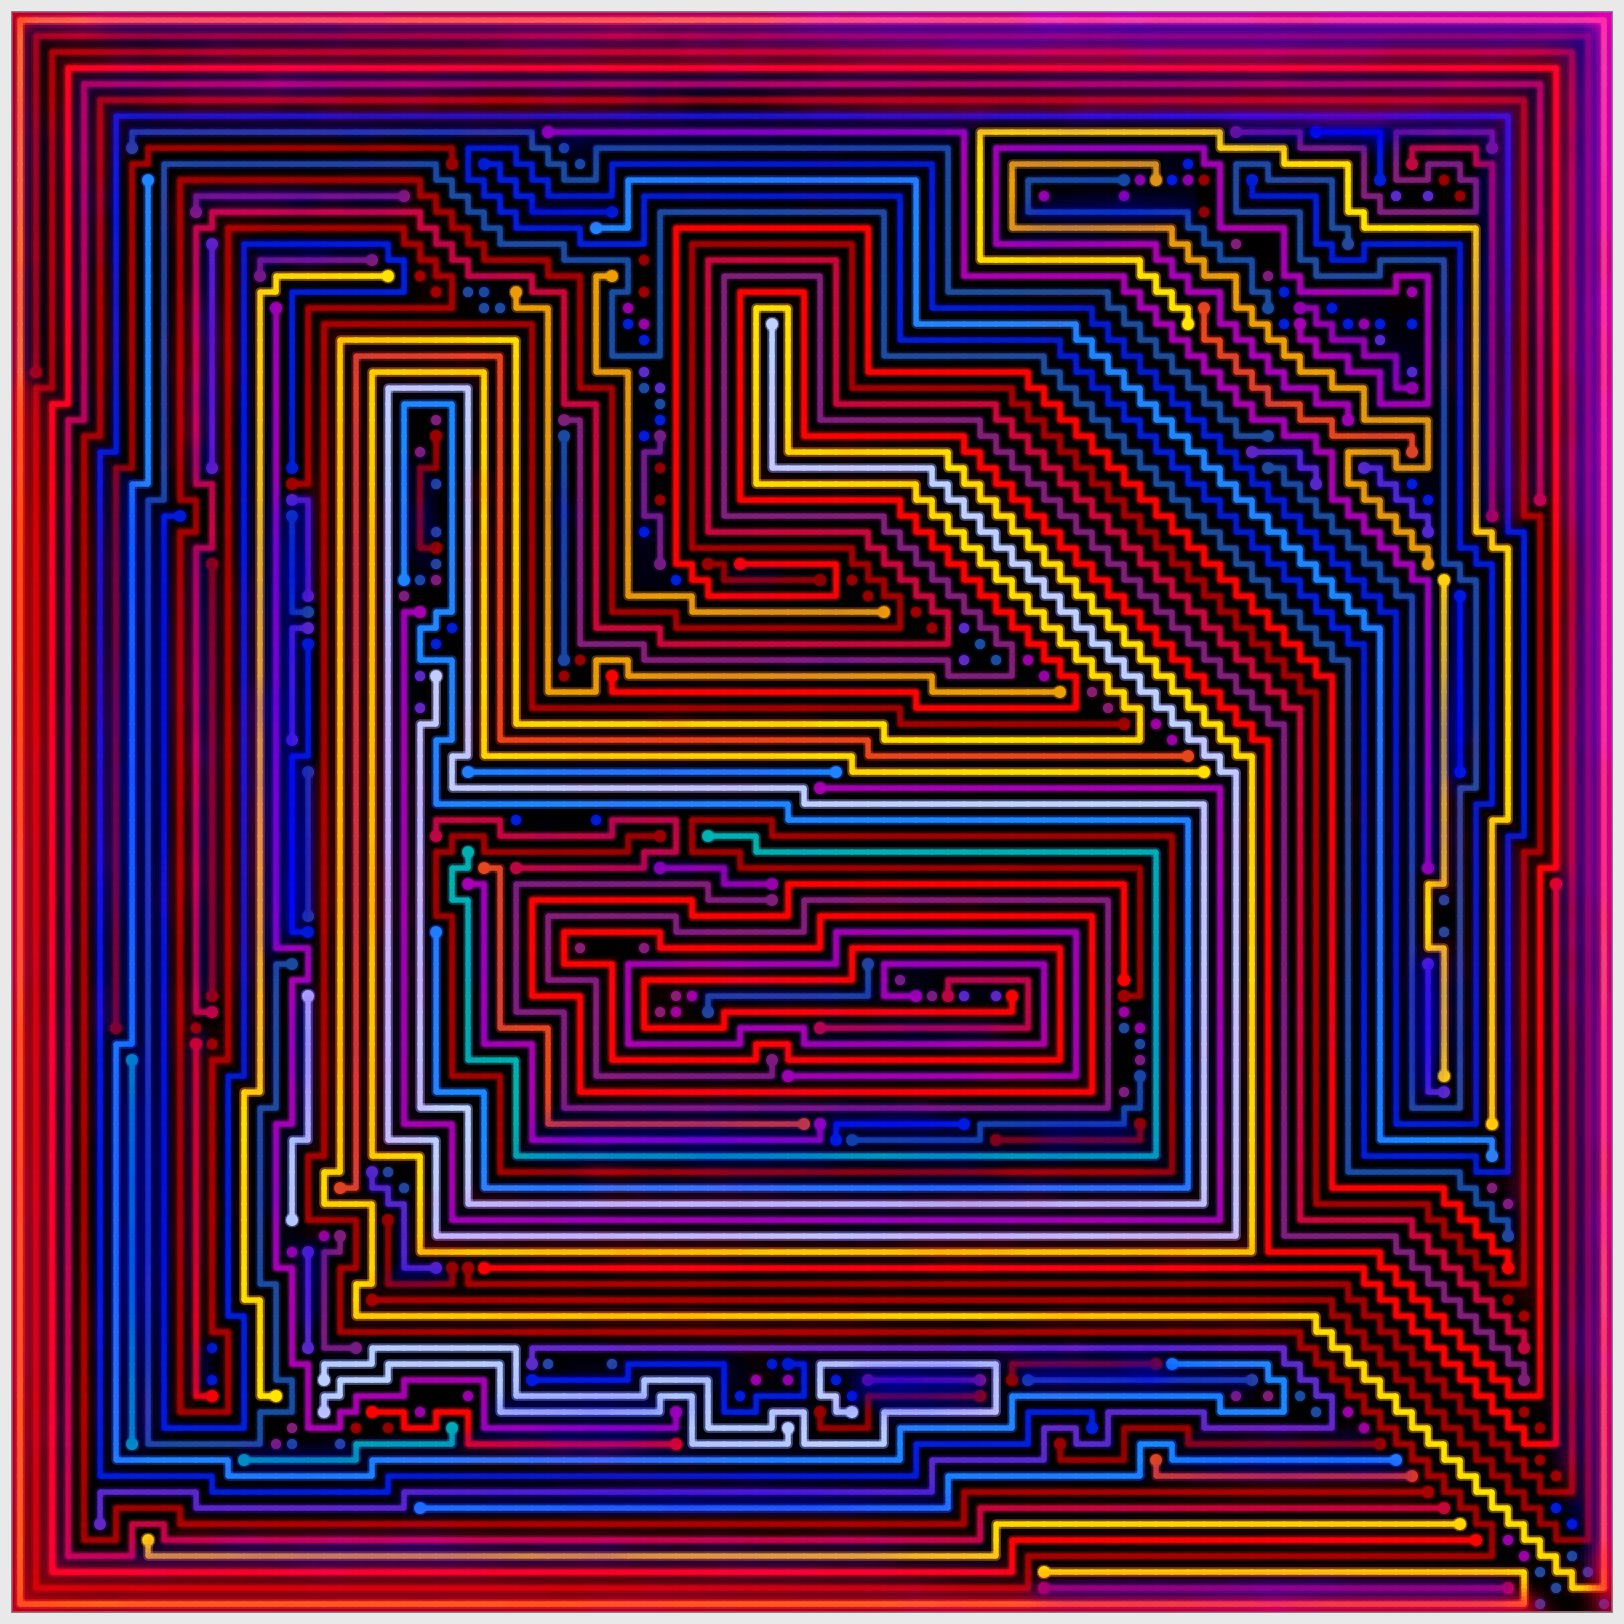
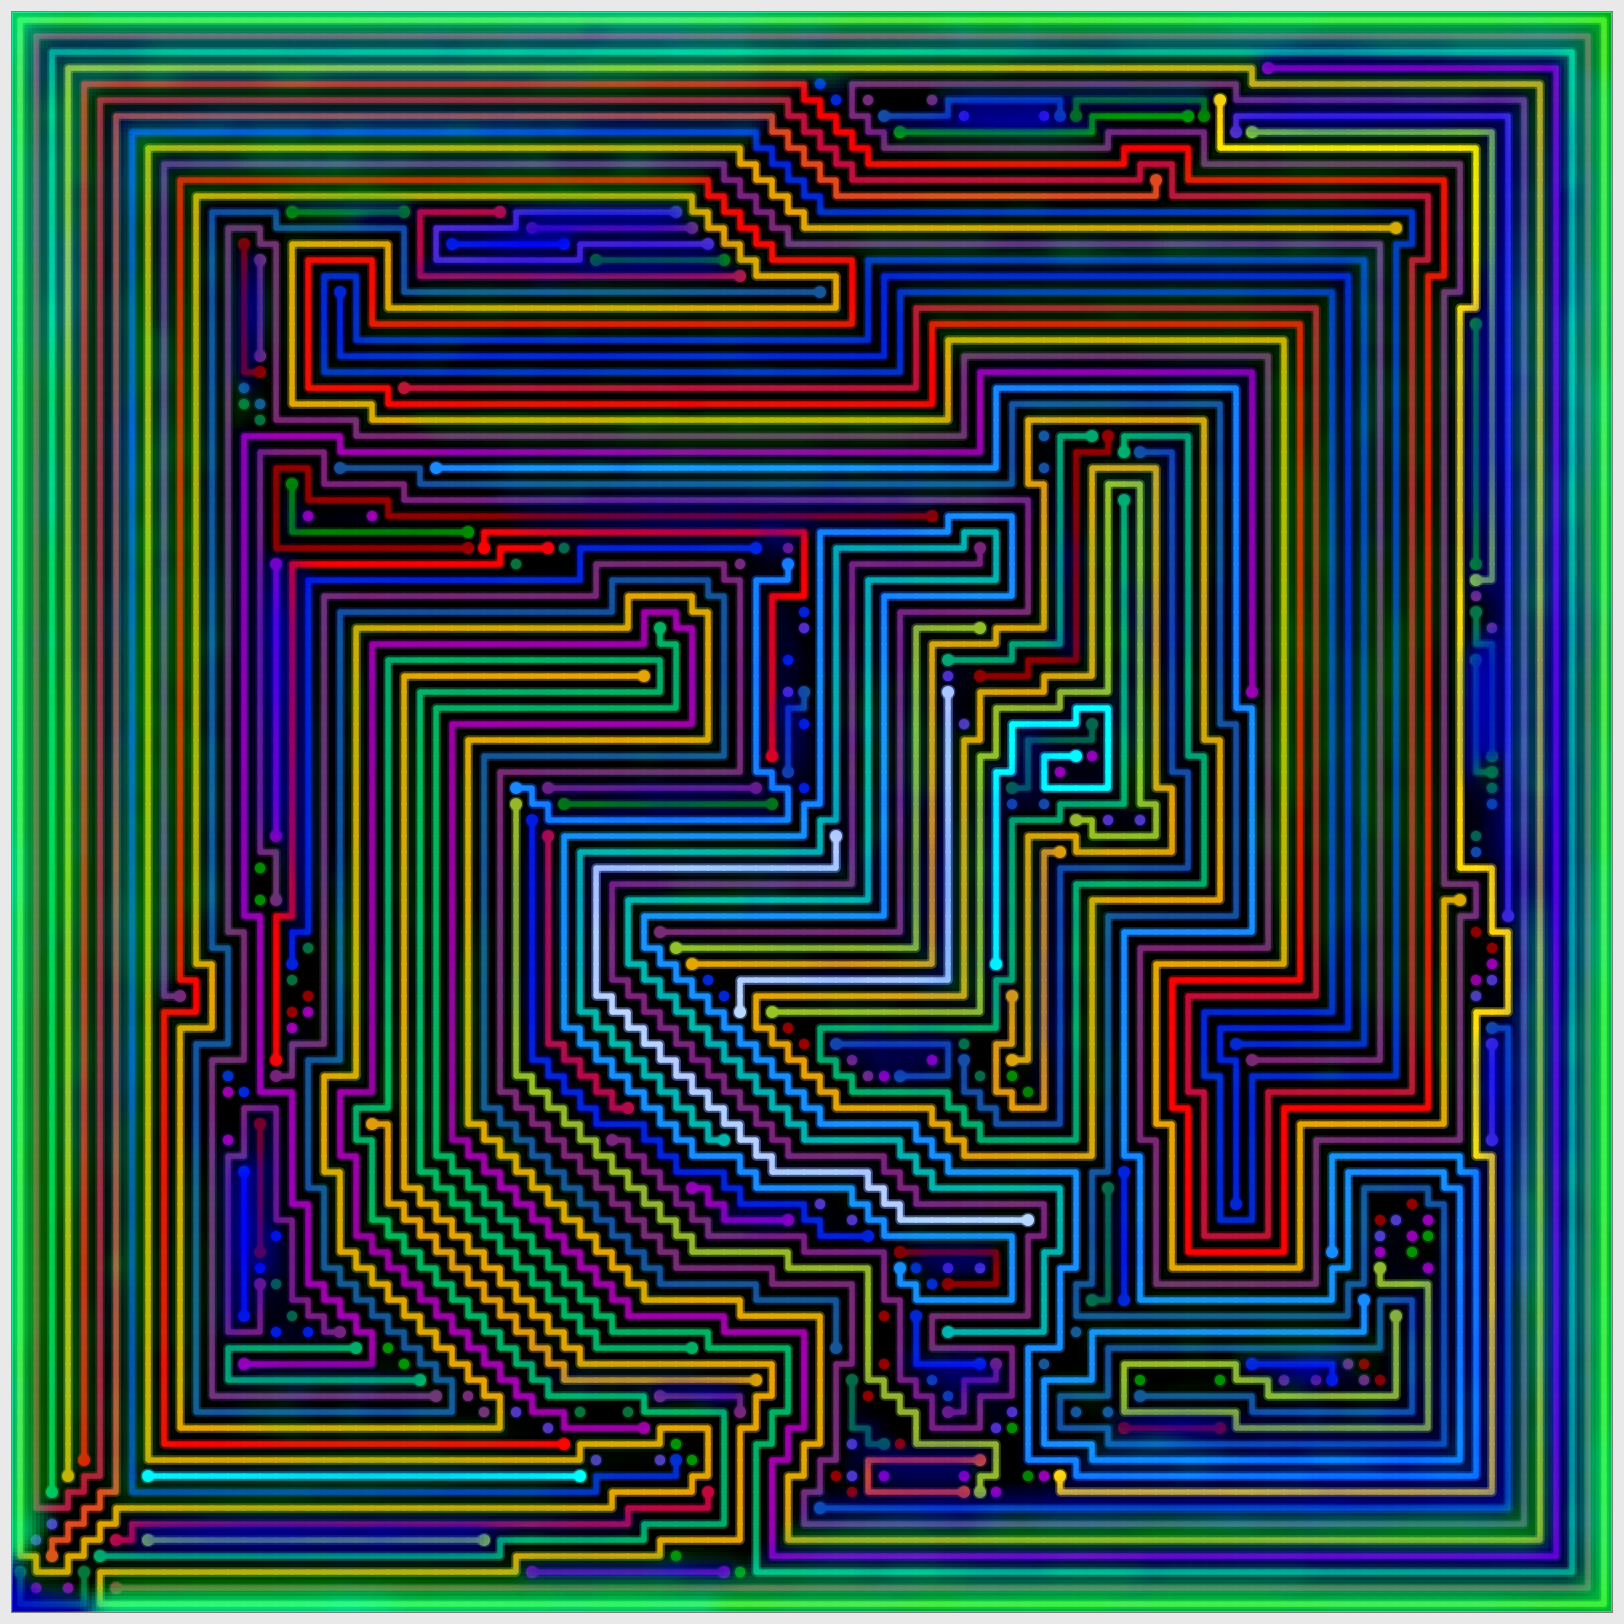
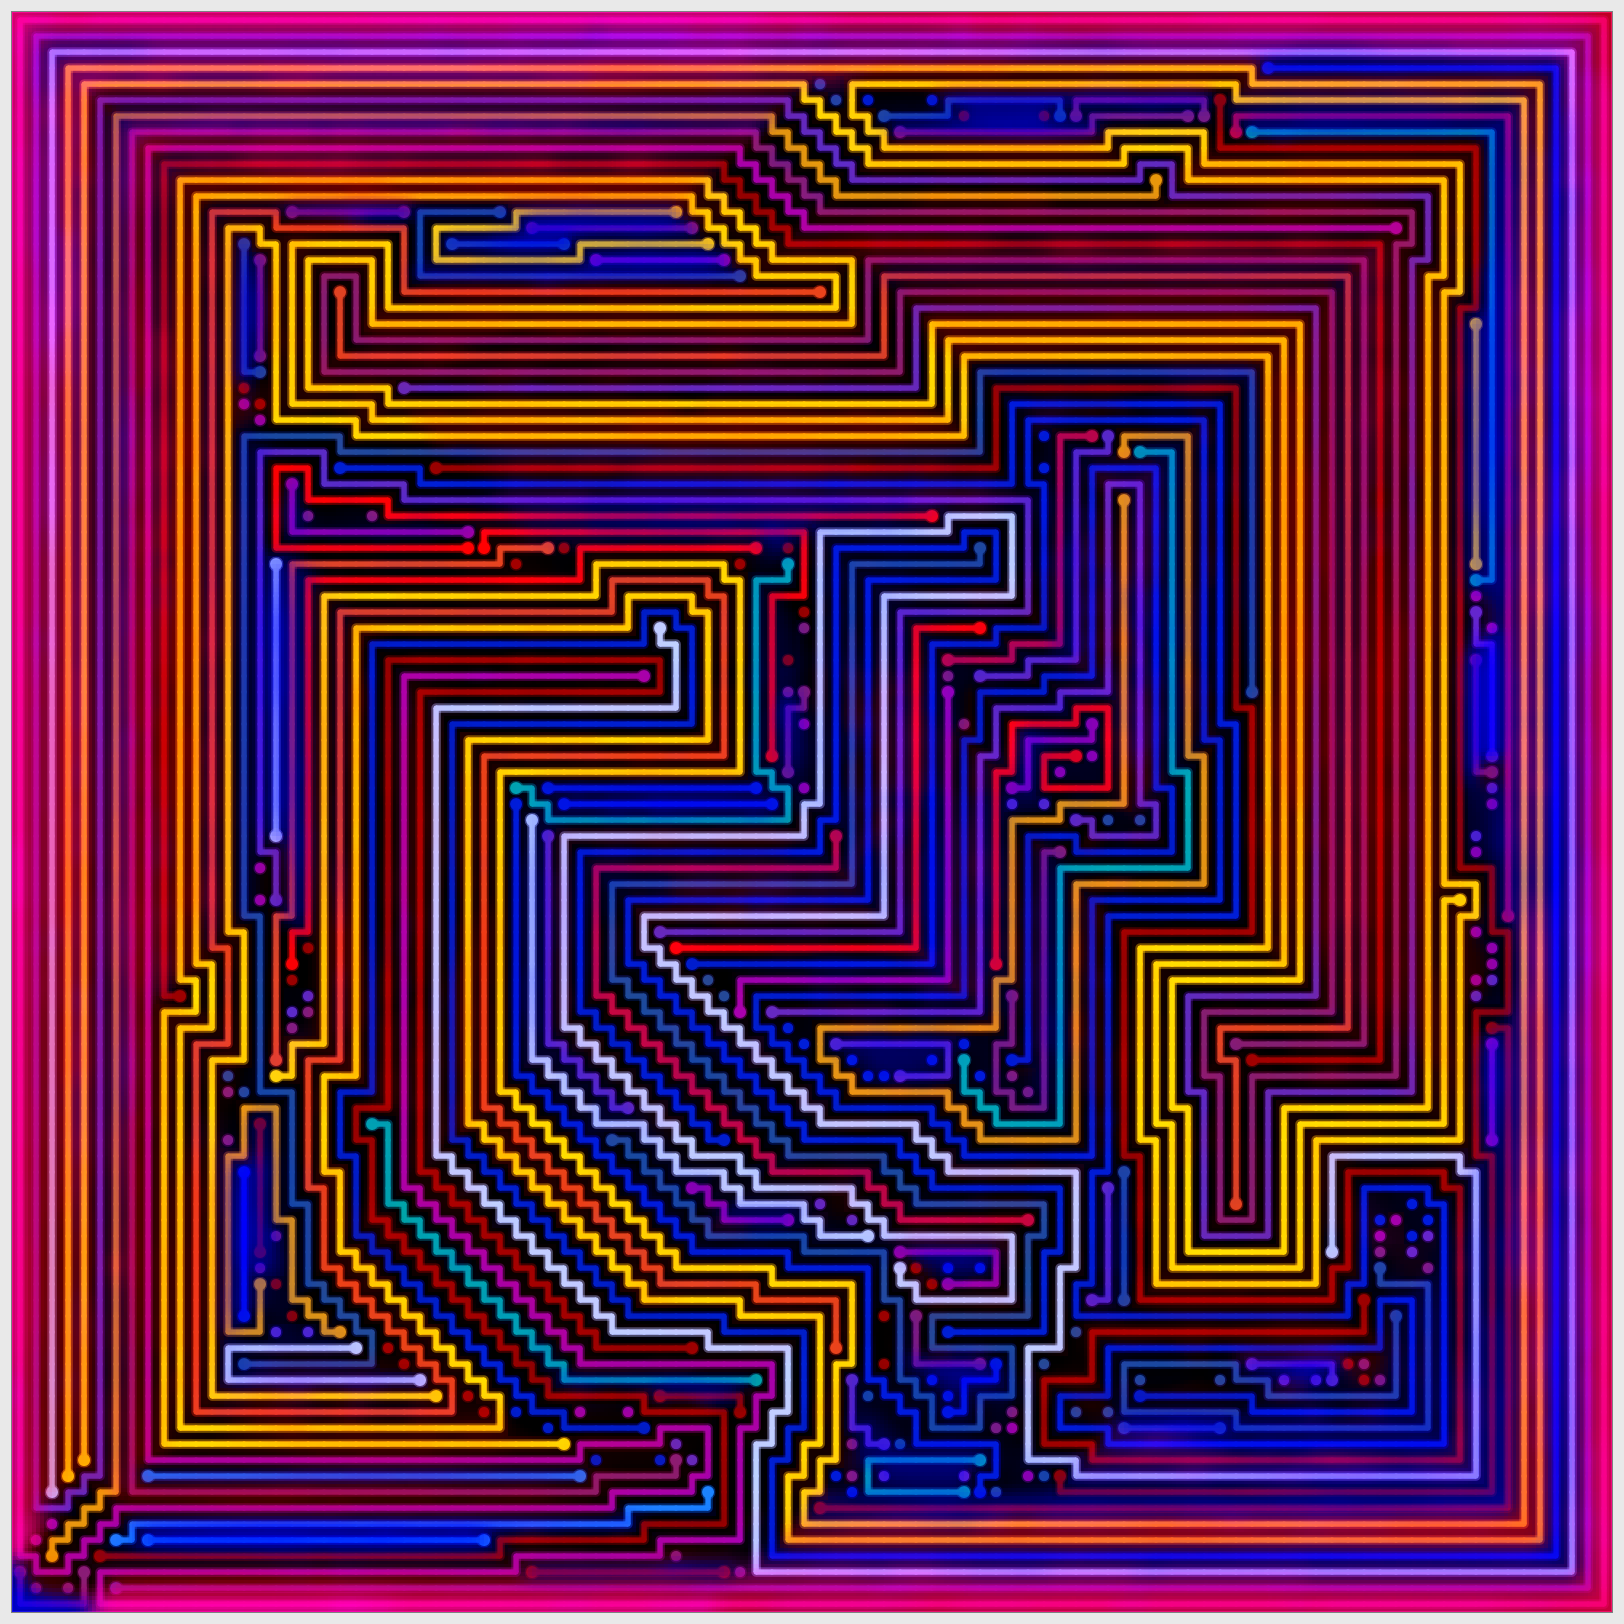
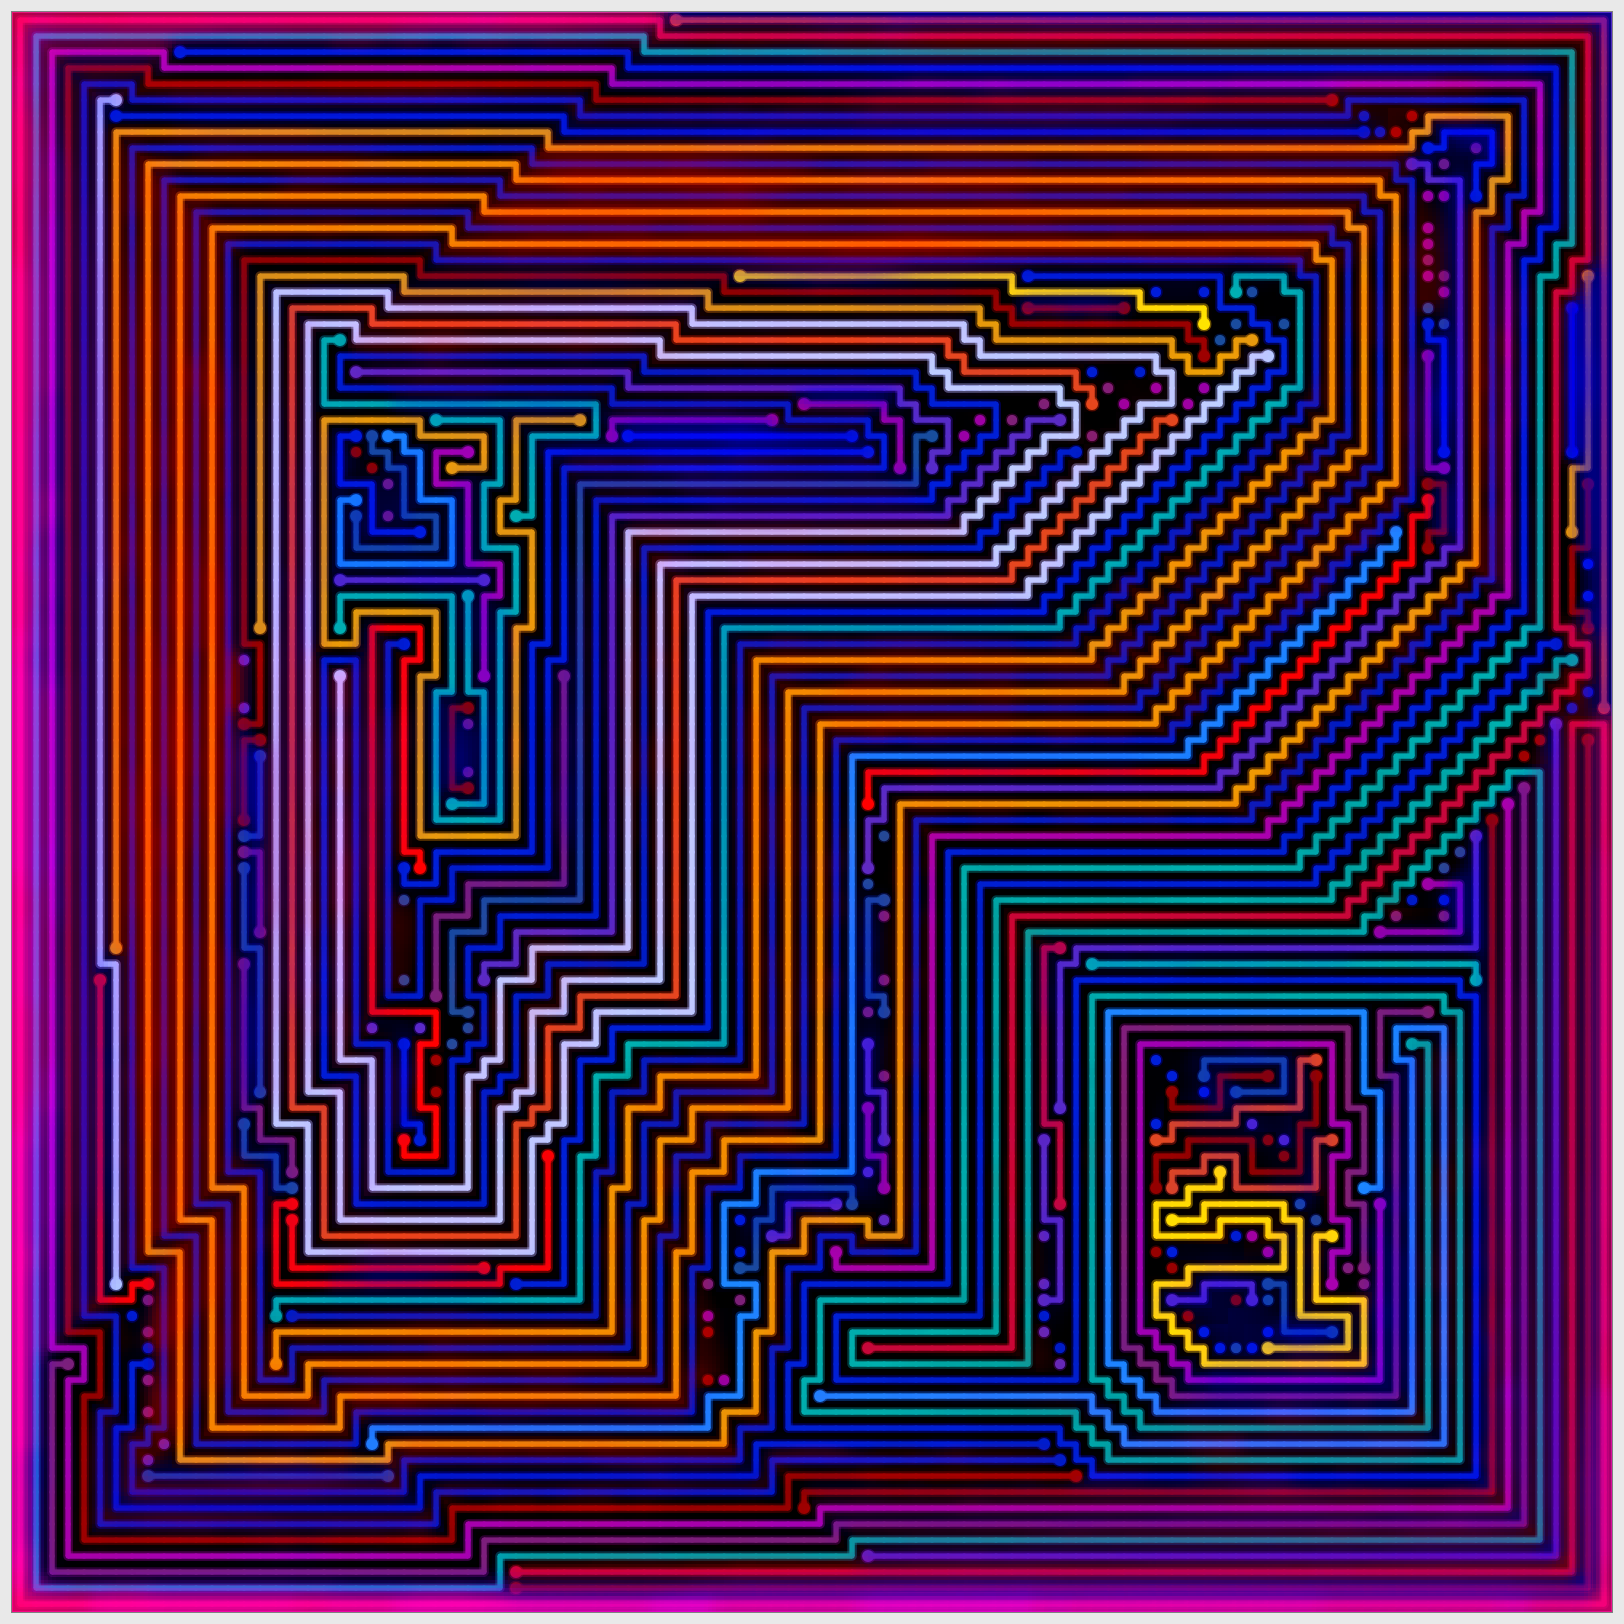
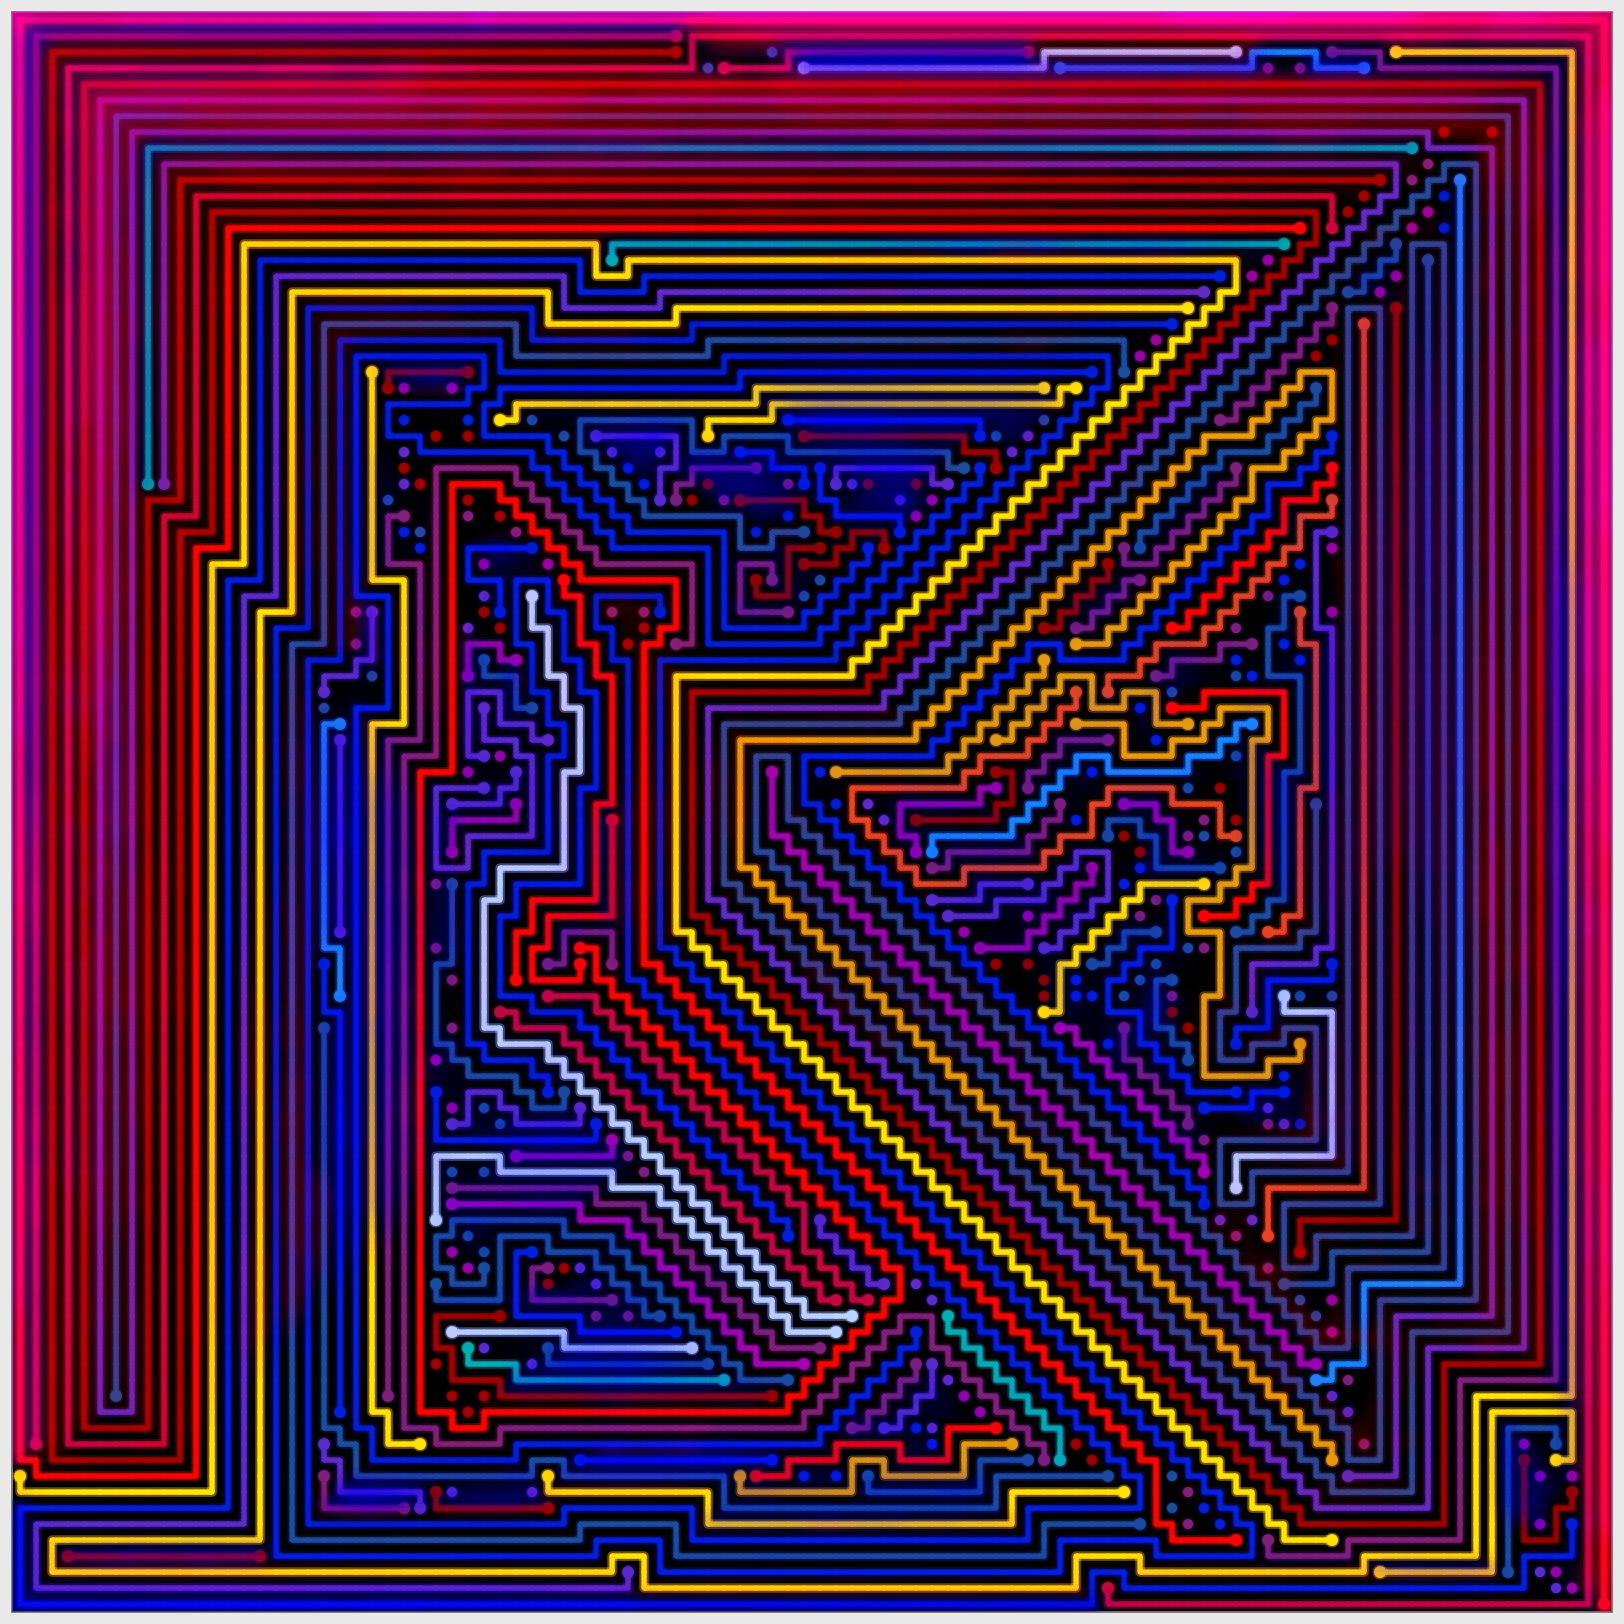
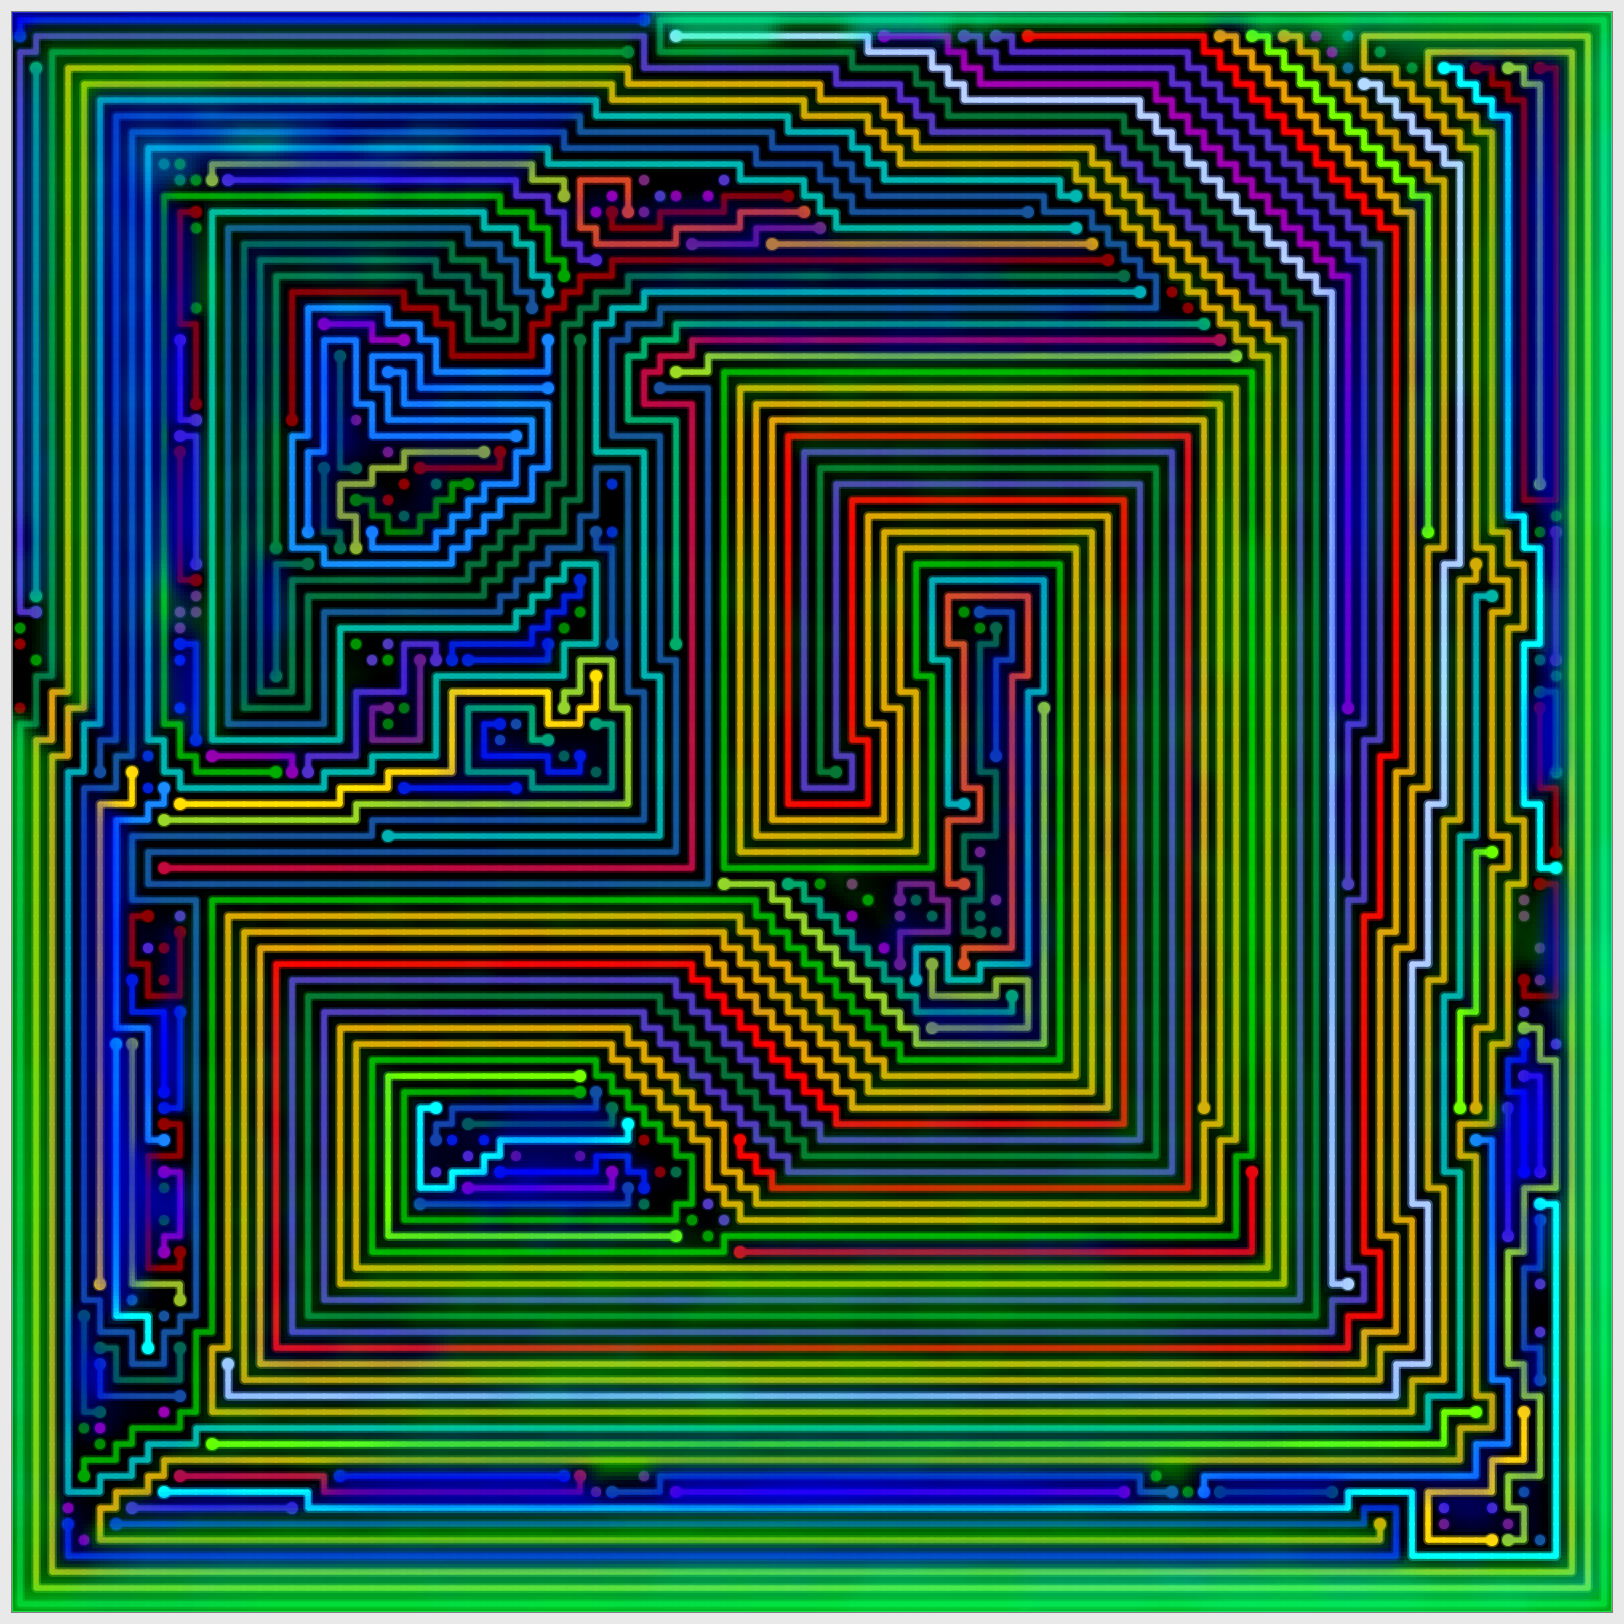
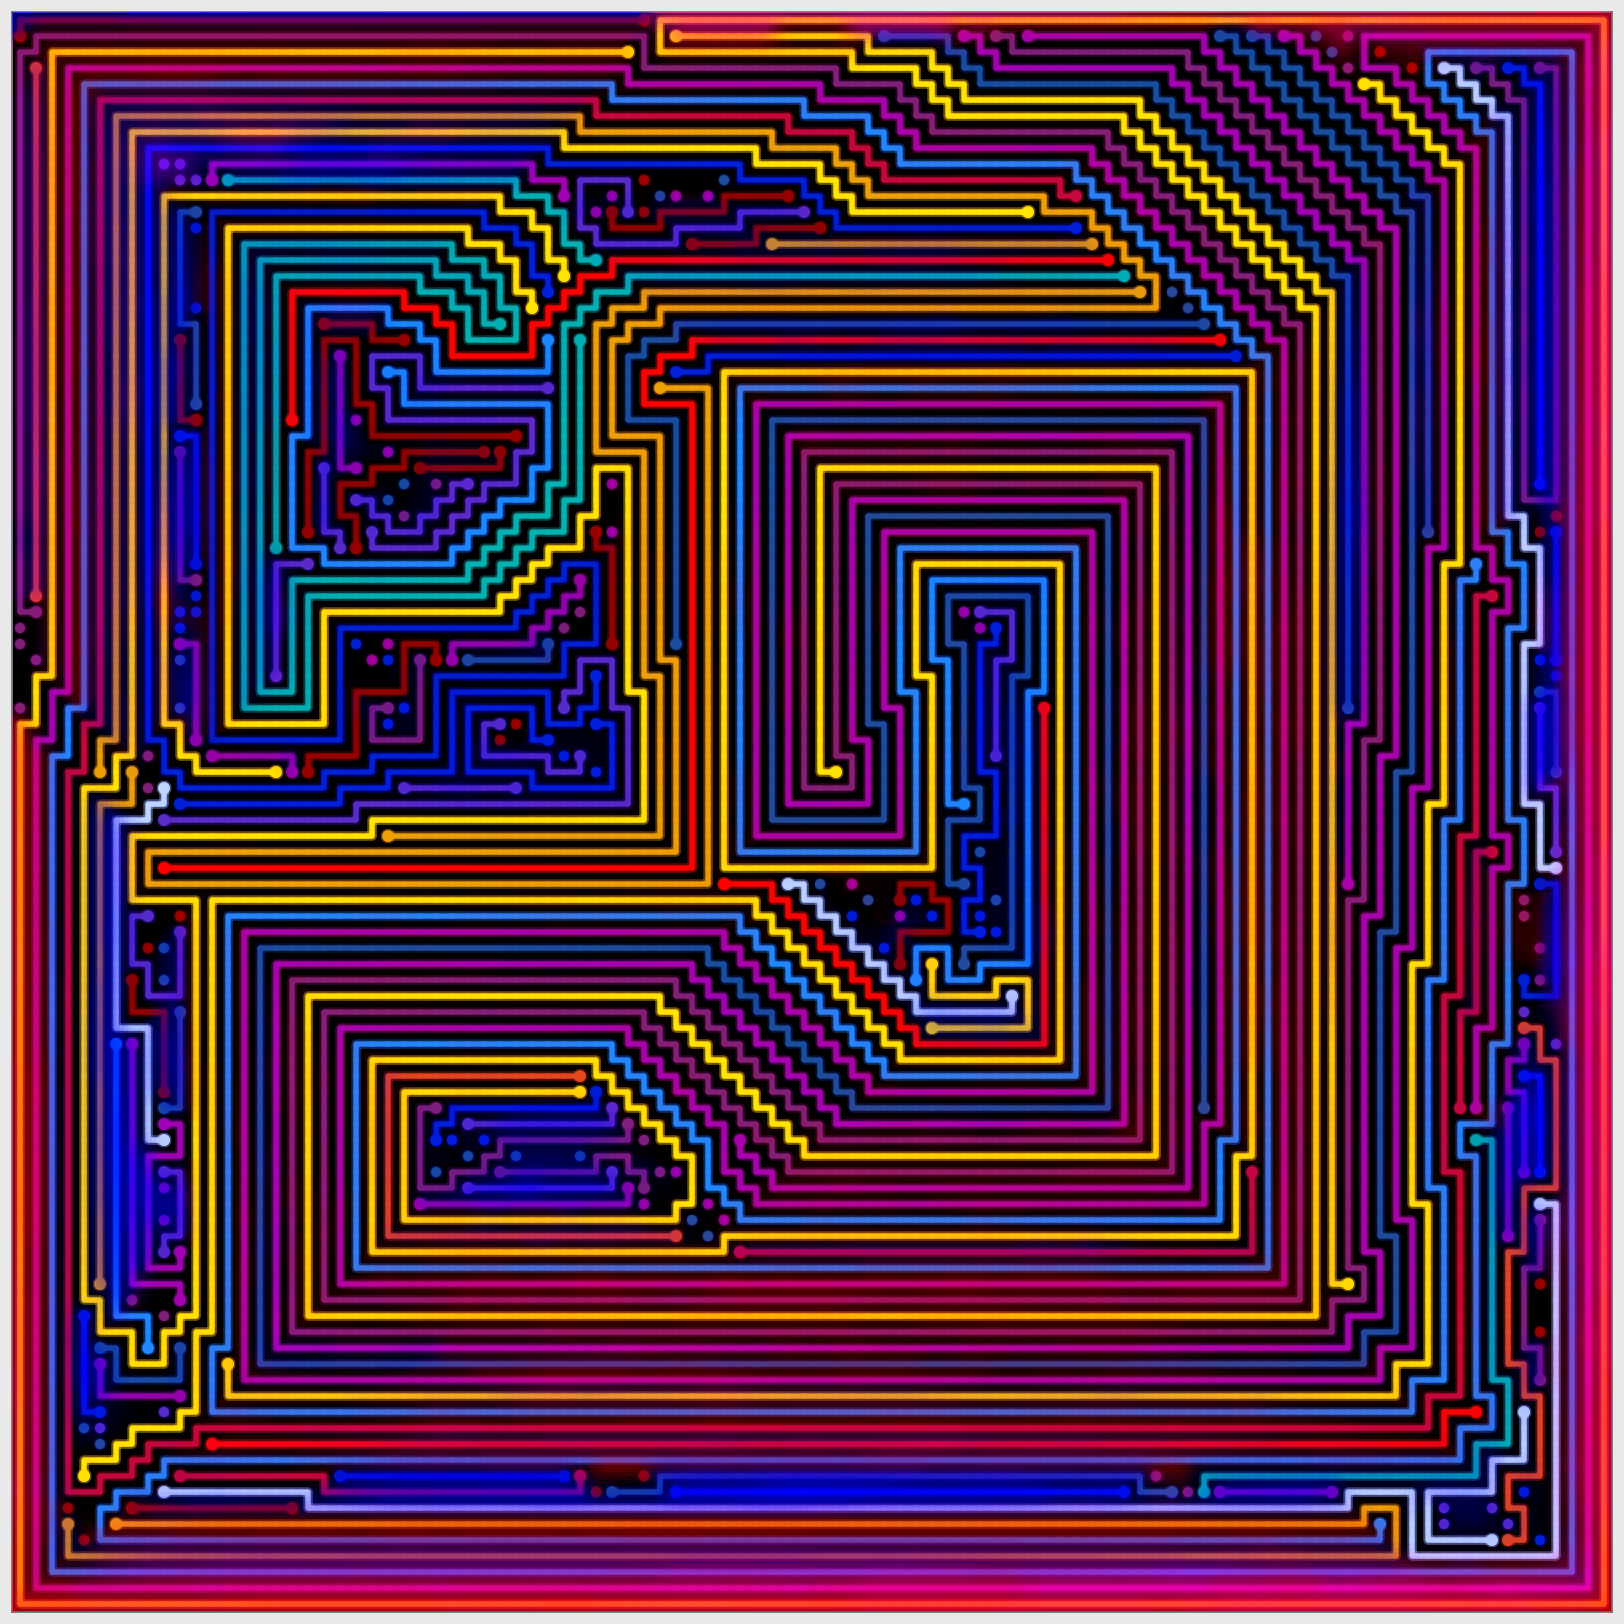
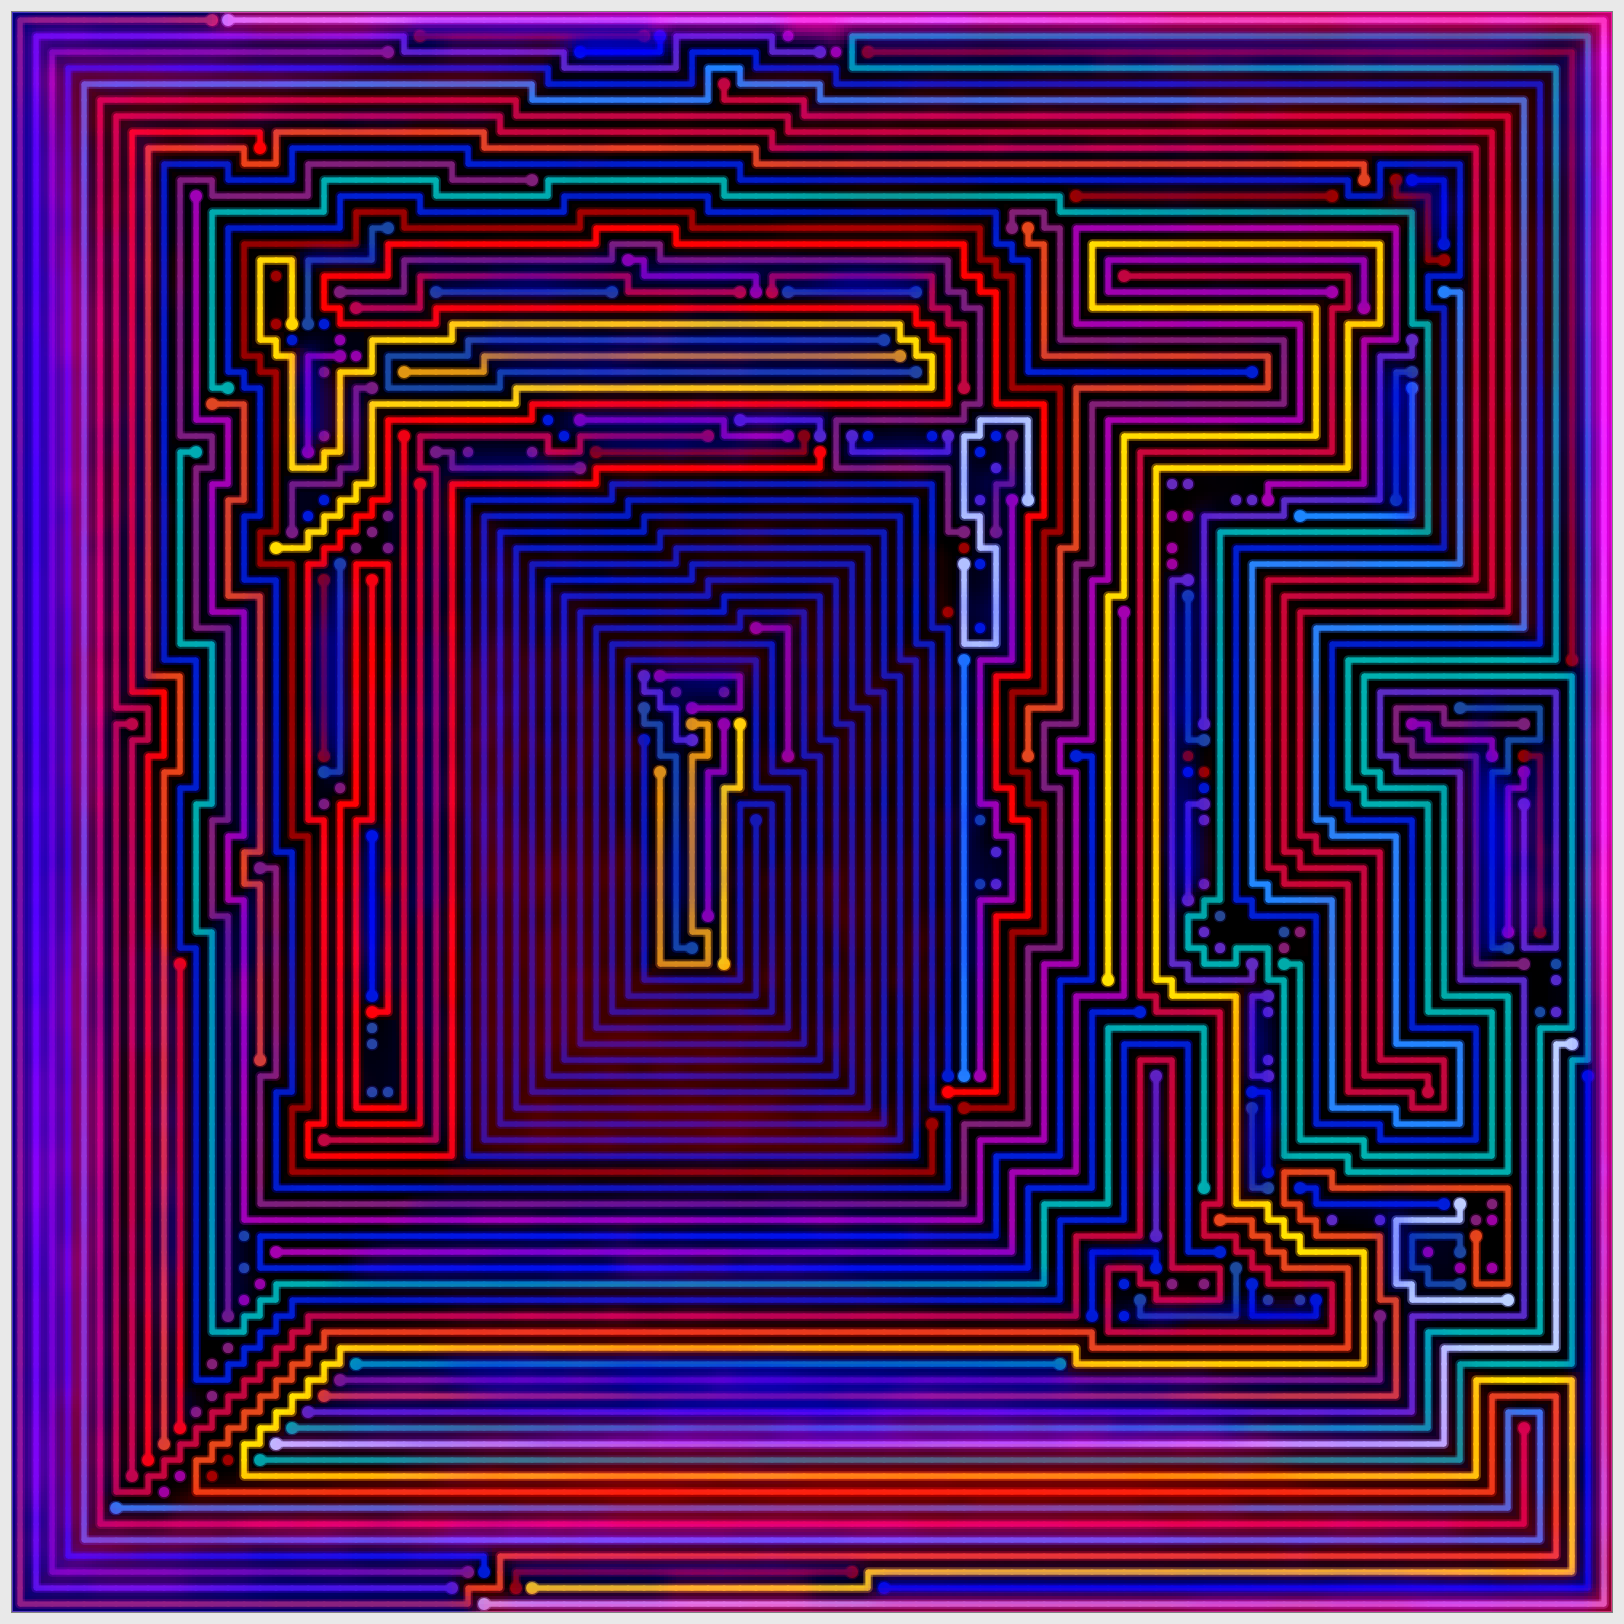
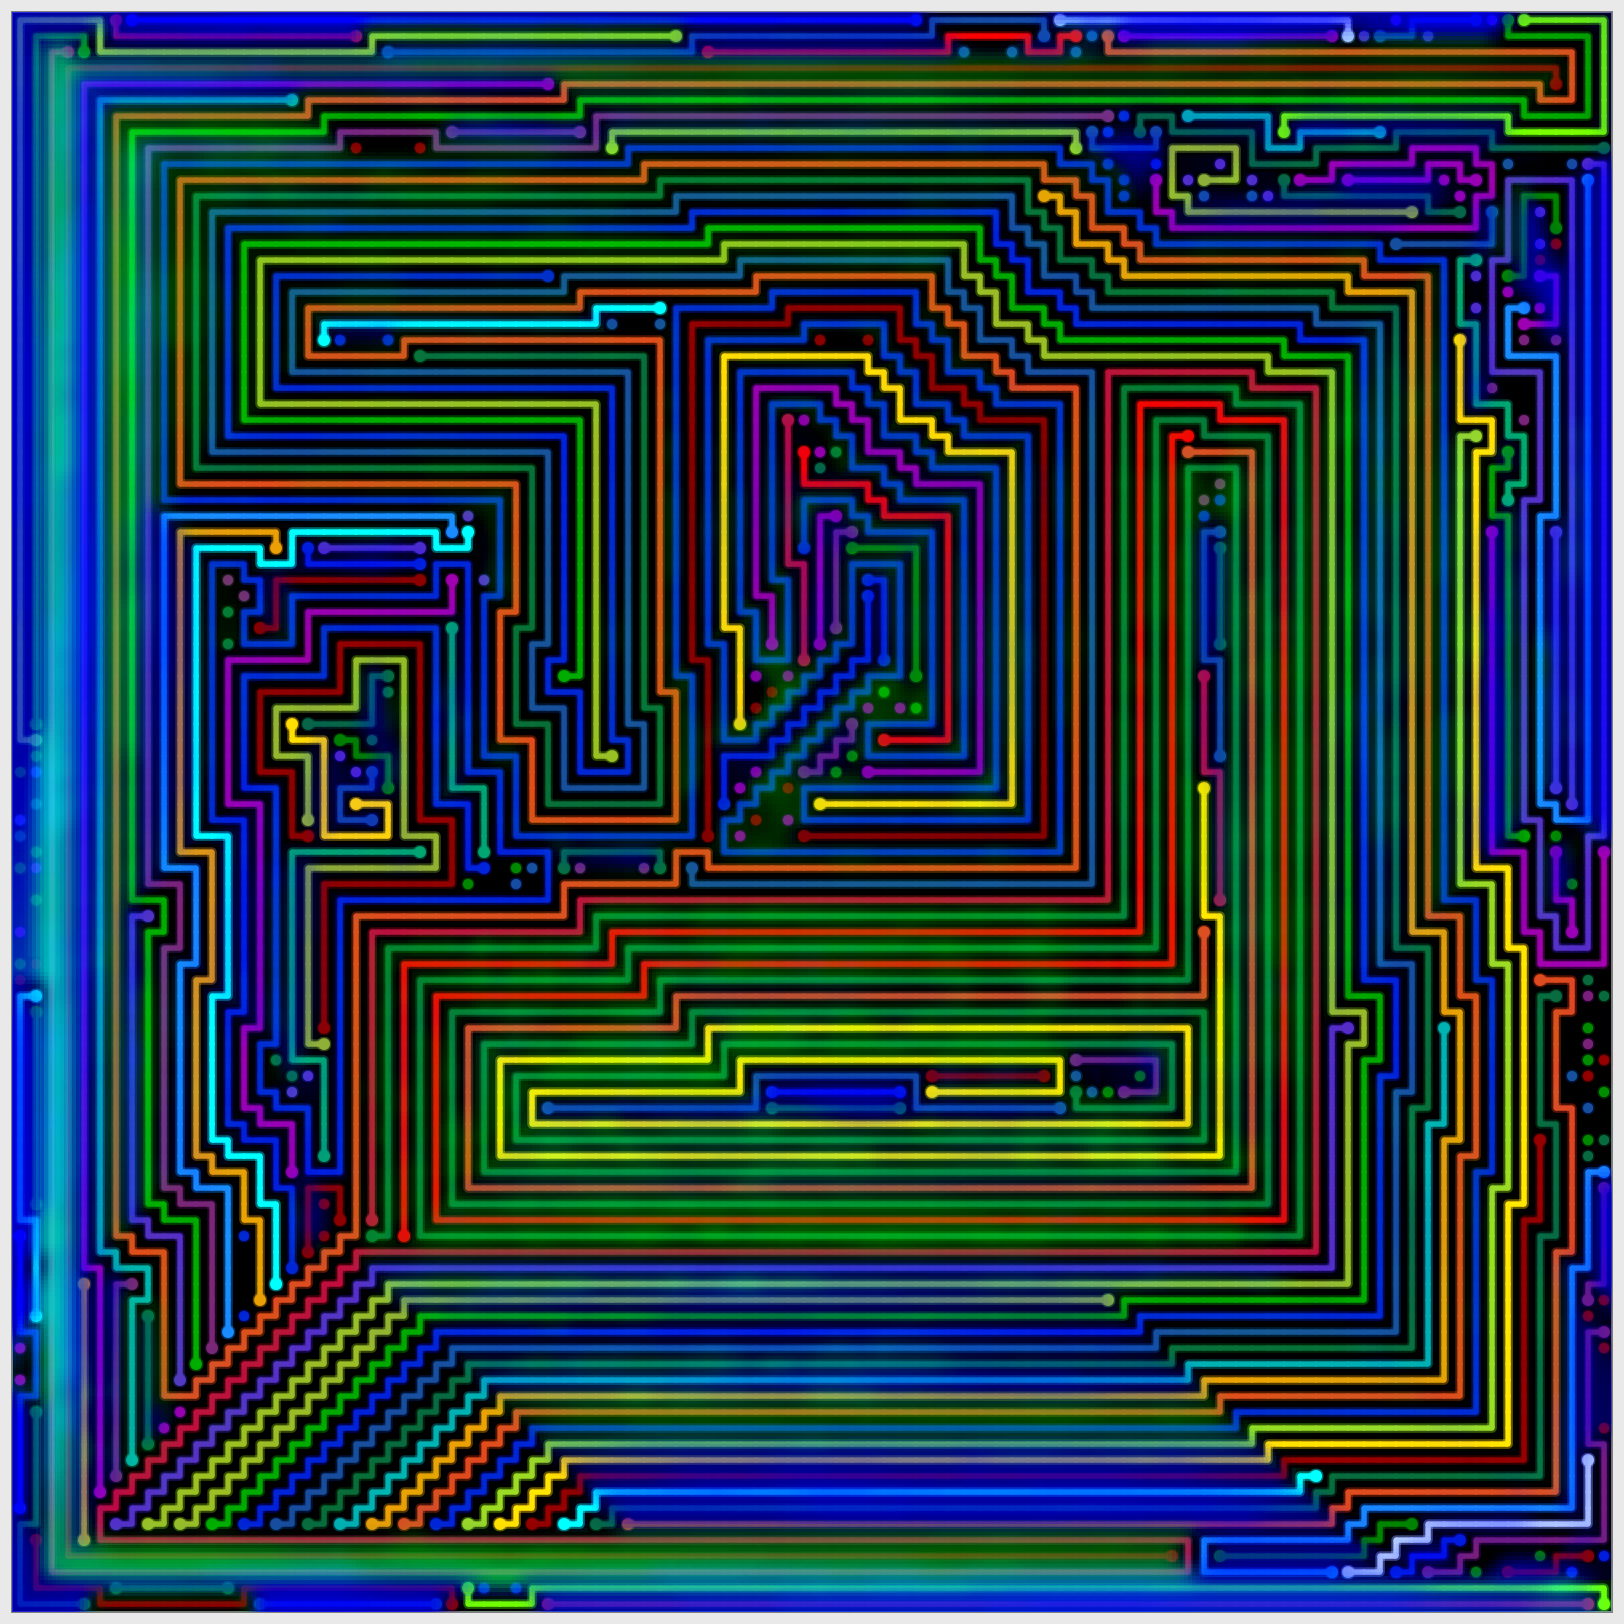
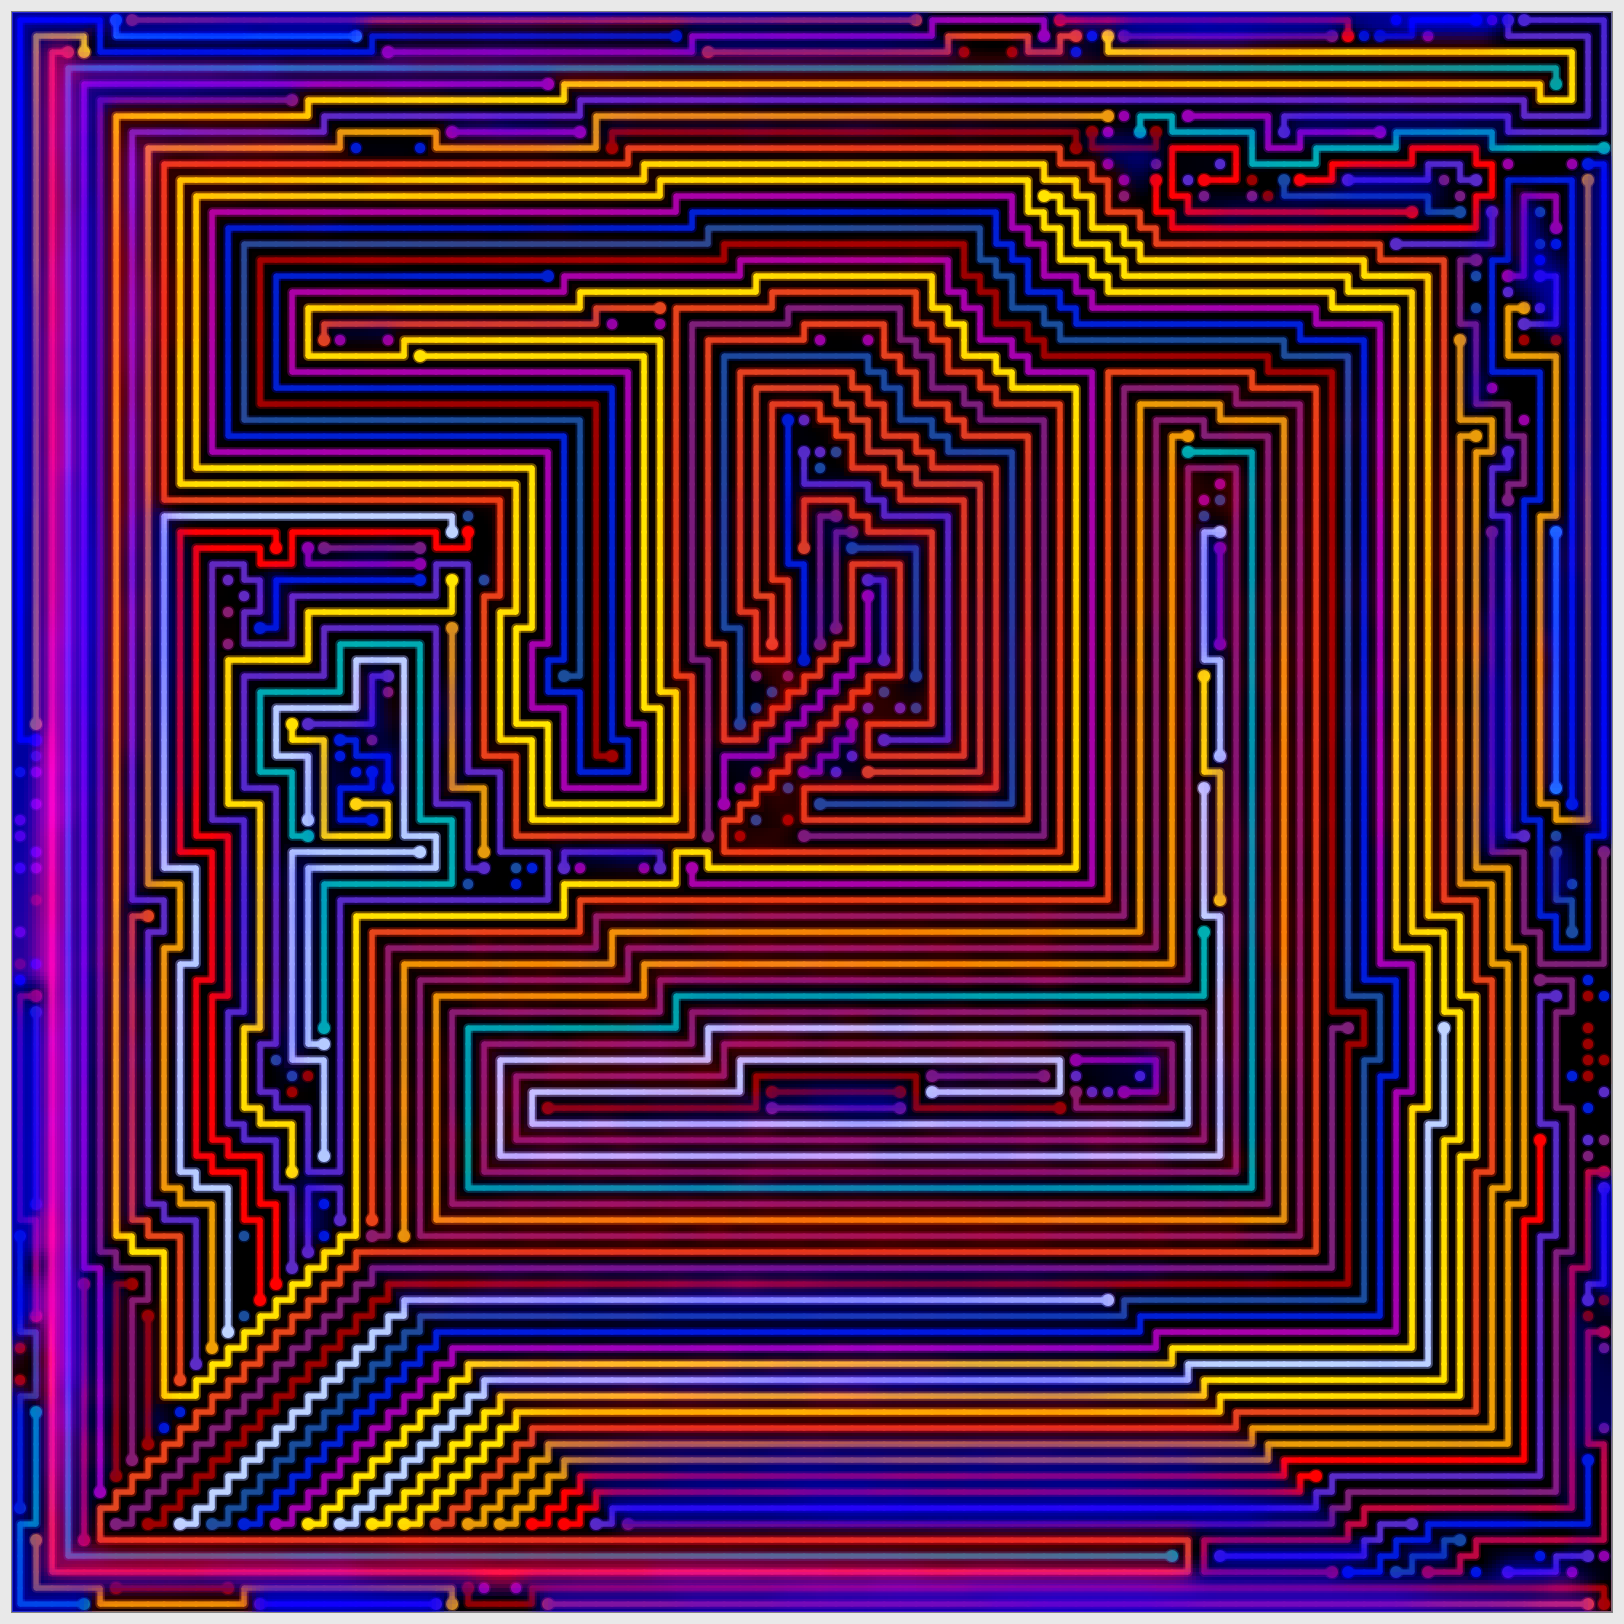
Line Art
Galleries
The Level Generator
Similarity Maps
About
Professional Background
Cover Letter/Resume
Contact
doug-osborne.com
Banner
Book
OzCraft
Software
Minify
Darts
Mathematical Solution
Games
Connect Unlimited 2
Portals
Shadows
Art
Puzzle Boxes
Relativity Box
Sphere Box
Pyrabox
Christmas Tree (2021)
Christmas 2022
Christmas 2023
The Software
Color Grids
The Basics
Grid Generation
Solving a Hard Problem
Line Art
Galleries
The Level Generator
Similarity Maps
About
Professional Background
Cover Letter/Resume
Contact
100×100 Part 3
Back to
100×100 Part 2
Constellation Maps