This page explains how the natural line update evolved and how it transforms the following image:

Three Weeks and Three Pages on One Level
The update is a result of the work I did on “The Secret Pyramid” level, which now has 3 pages:
The Diagonal Update
The last page on “The Secret Pyramid” details how the work on the 2nd page led to an update that (optionally) replaces jagged “steps” with straight diagonal lines.
Here is what the image looks like with this option:

The Space Between
The issue with replacing steps with diagonal lines is that the diagonal lines fill less space:

The gap between the diagonal portions of the lines is significantly greater than the gap between the straight portions. While this creates an interesting shiny, almost metallic look, it also makes the overall image somewhat more dull color-wise.
Another issue that I had with the diagonals is that I felt they sometimes looked out of place next to straight bends that aren’t quite steps.
Here is an example from the The Final Secret Pyramid:

The circled area in my opinion is inconsistent with the diagonals – which only occur when lines alternate directions every cell.
Similarity Shading Showed Me A Solution
Another image from The Secret Pyramid pages:

The blurry green line is not actually a line but the result of similarity shading – which uses a standard blurring algorithm to smooth the shading. The reason behind the unusual shading is explained at the bottom of the A Pyramid Diversion page.
Besides approximating diagonals, this “line” also manages to fill the same area as the steppy line that it covers.
The Line Glow Layer
Prior to this update, my program generated images in two layers, with the similarity shading overlaid on top of the lines (which have a slight glow that you can see if you look closely).
My idea to fill out the diagonal lines was to create a separate line glow layer. This is generated by drawing the lines as usual and then applying a blurring algorithm to the images with several passes. This turns the lines from this:

to this:

The images have a transparent background.
Follow The Glow
One way to smooth the original lines is to draw lines over the line glow layer that “follow the glow.”
To do this, the program looks at the pixels along the borders of the cells that each line crosses and adds a line point at the pixel with the highest alpha (opacity) component – ignoring the RGB values.
Here is what the lines look like following this algorithm:

The last step is to combine the above images and add the similarity shading layer:

If you want to test your photoshop skills, you can combine the above 3 images by adding them to 3 separate layers in the order they appear. The line glow layer is at the bottom and the similarity shading layer is at the top.
This is drawn on a black (not transparent) background.
The program also adds an additional contrast boost (currently set at +17 in my program, but I am not 100% certain what that translates to in photoshop) after flattening the image.
The Result

Link to full sized image: https://doug-osborne.com/wp-content/uploads/2018/09/01_004-1.png
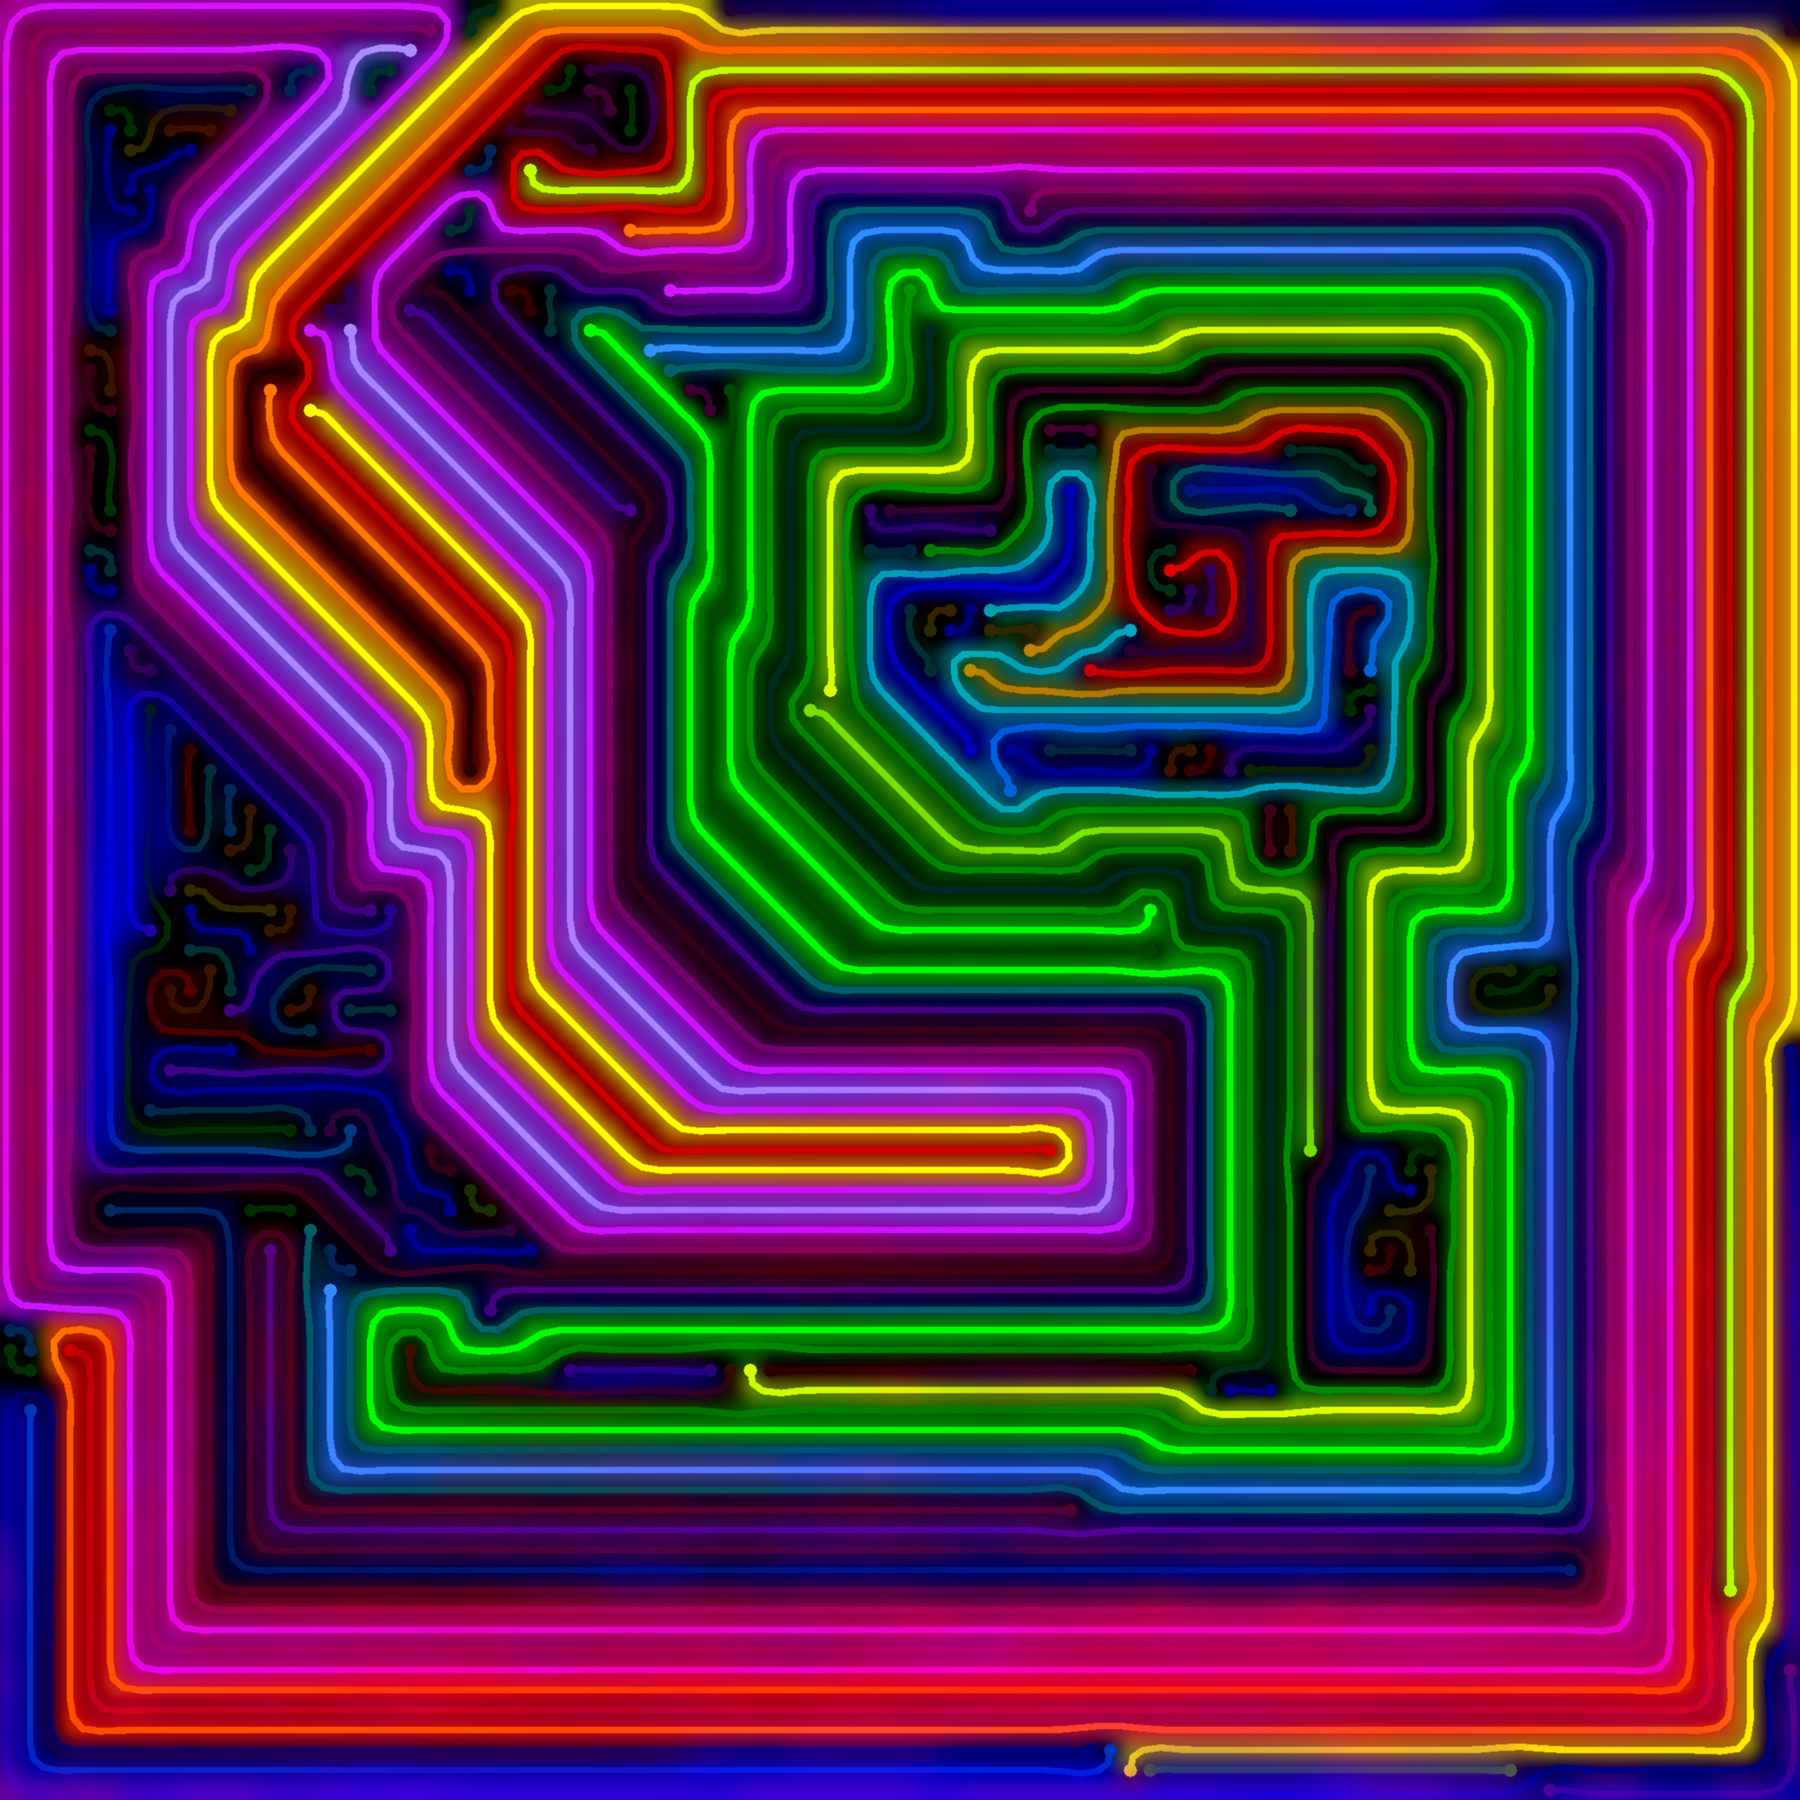
Three For The Price of One
My intention when I started work on this was to smooth the lines while maintaining relative overall brightness that the diagonal update failed to do.
There are actually three major improvements – and two of them really surprised me after I saw my first (sort of) working version:
- Smooth lines that mostly fill out the diagonals.
- A far increased overall line glow that makes the original images look quite dull by comparison.
- Much more interesting lines in areas with lots of short lines.
I might have anticipated the 2nd improvement, but not to the degree that it affects the images. The line glow also makes the colors more dynamic: the color of neighboring lines affect a line’s own glow.
The 3rd improvement was completely unexpected and due to:
Gravity
The “follow the glow” method of smoothing the lines ends up creating a slight gravitational pull between the lines. You can see this in the line glow layer:

The left side is what the line glow layer looks like before the smoothing. The right side is the result after smoothing and making each pixel gray (but leaving the alpha component) so that the color of the lines doesn’t influence the shade.
The white spots are generally around the ends of the lines. This is because the lines start at the middle of a cell, creating a bit of space behind the end of each line.
Here’s a closer look at the area on the final image to see how this impacts the lines:

The Lines Without Gravity
A far simpler way to smooth the original lines is to apply a standard line smoothing algorithm on the array of points. Here is how the above area looks like with this method:

The lines are drawn independently, and there is no variation between lines that follow the same sequence of turns. The spacing between the lines is inconsistent and looks odd to me in the image without gravity.
In my opinion, the gravity effect makes this area look much more natural and interesting.
I Could Smooth The Lines With Gravity
Here is what that could look like next to the original version:

(smoothed, but with gravity on the left).
I’m not claiming either version is better or worse. I grew attached to the original on the right because it looked to me like a human doodling on a piece of paper, and the left version loses some of that appeal for me.
While the gravity has the smallest effect on the overall image when viewed at a distance – it might be my favorite improvement of the three. Areas like this with lots of short lines often spoil a level for me, and this change often transforms them into separate areas of interest that add detail to the overall image.
Images with Some of The Improvements
This version has smooth lines and the gravity effect but without the increased line glow:

Now the original lines with the line glow added – of course there is no gravity, since the lines aren’t smoothed at all.

Now the line glow and smoothing without gravity:

Once again – the difference between this and the version posted above with all 3 improvements is mostly in the details.
And here is the final version (again):
And the link to download the full-sized image.